Add your branding and connect your own domain
Set your studio name and colour, find the studio address Tellisto gave you at sign-up, and connect a domain you already own for your client galleries.
3 things to set up · about 12 minutes all up
Skip to the setup ↓What this does
Your studio already has its own address on Tellisto, with no setup needed. It’s a subdomain made from your studio name when you signed up. Every client-facing page you send (your enquiry page and your galleries) lives there, never on a tellisto.co link.
The name and colour you set here appear on everything a client opens: the gallery cover, the access screen, the footer, and the emails Tellisto sends on your behalf. If you already own a domain for your studio’s website, connect it too. Your galleries then move onto it, in place of the address Tellisto gave you, with their own certificate.
Each step below ends with a quick test. By the end you’ll have opened your own client pages and seen what your clients see: your name, your colour and your address.
Set it up
Step 1 of 3 · 3 min
Name it and colour it
Your studio name and an accent colour, carried through your galleries, your enquiry page and every email your clients get from you.
- In Tellisto, go to Settings → Branding. Set your studio name at the top, then set your accent colour by hex or by dragging the swatch. The preview beside it updates as you go. Open Branding
- Flip between the preview tabs to see the same name and colour carried onto the gallery cover, the access screen and the footer, and check the on-screen 0 Tellisto count reads zero. The count checks the actual page your client will open for any mention of Tellisto, and finds none.
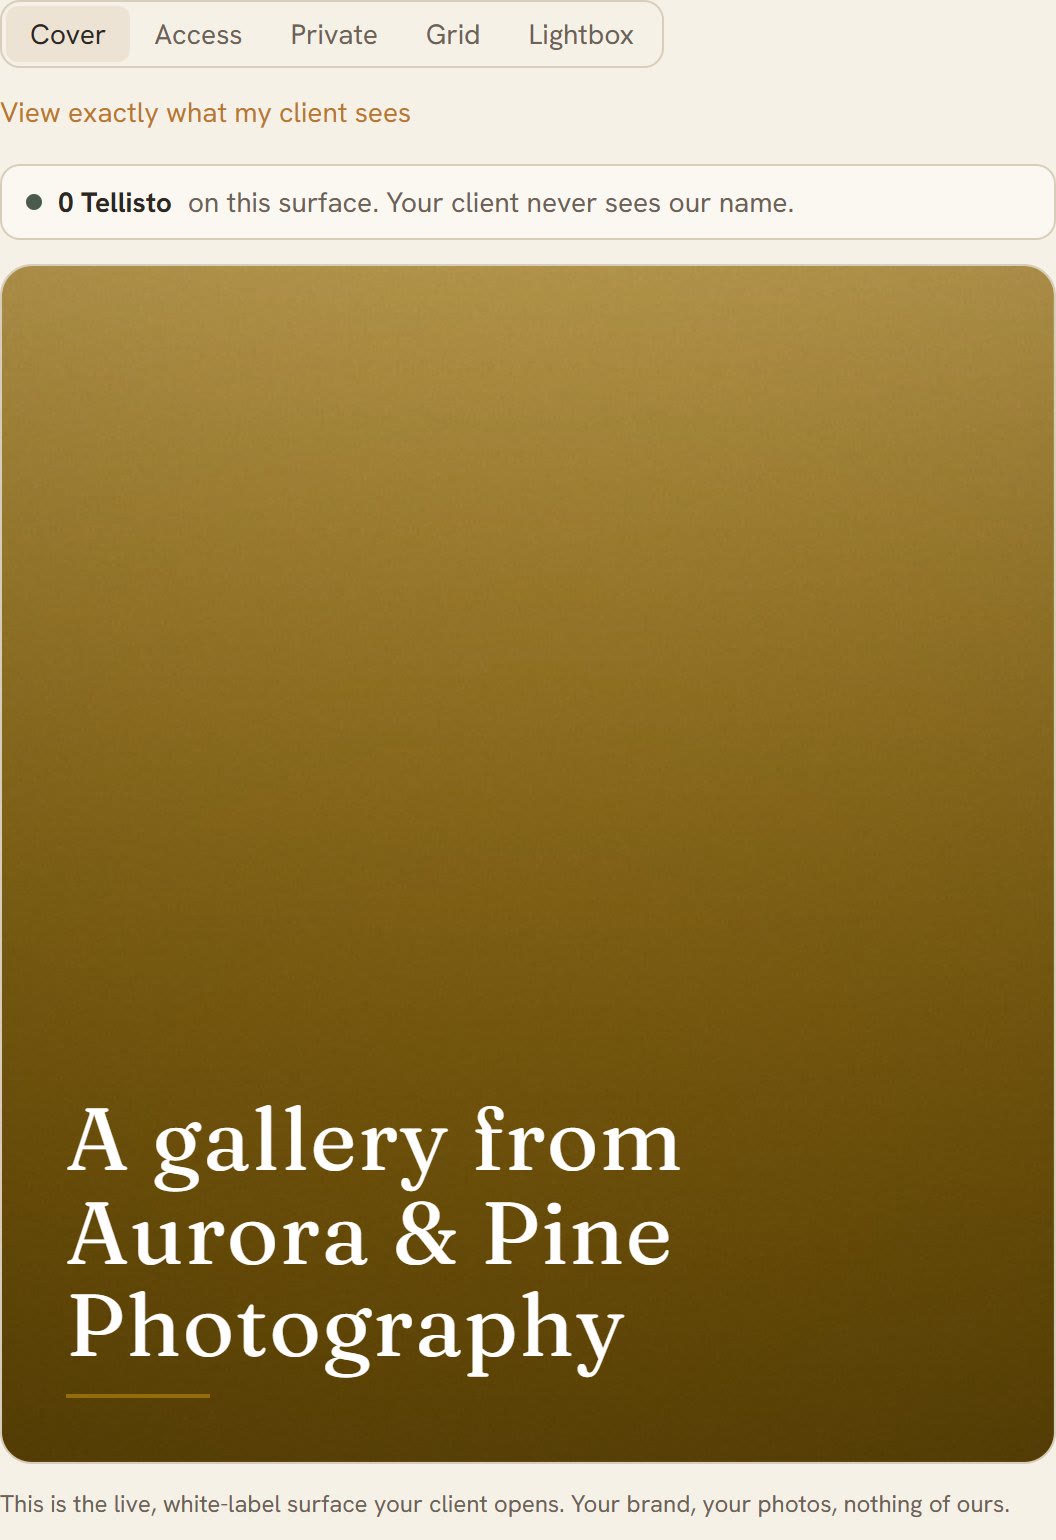
- Now test it. Click View exactly what my client sees under the preview. It opens a real gallery, not a mockup, carrying your name and colour.
Step 2 of 3 · 1 min
Claim your studio address
You've confirmed your studio already has its own live address, with no mention of Tellisto.
- Tellisto gave your studio its own address the moment you signed up, built from your studio name: something like your-studio.picport.co. Go to Leads → Set up enquiries and look at the enquiry link at the top of the page: that address is it. Open enquiry setup
- Now test it. Open that link in a private or incognito tab, the way a client would. Check the address bar: it's your studio's own address end to end, not app.tellisto.co.
Step 3 of 3 · 8 min
Connect your own domain
Client galleries on the domain you already own for your studio, with their own certificate instead of a Tellisto address.
- Go to Settings → Domains. Under Connect a domain, enter the domain you already use for your studio (say, smithphoto.com.au) and click Connect. You'll need access to wherever you manage its DNS. Connecting a domain is a Pro feature; on Free you'll see an upgrade prompt in its place. Open Domains
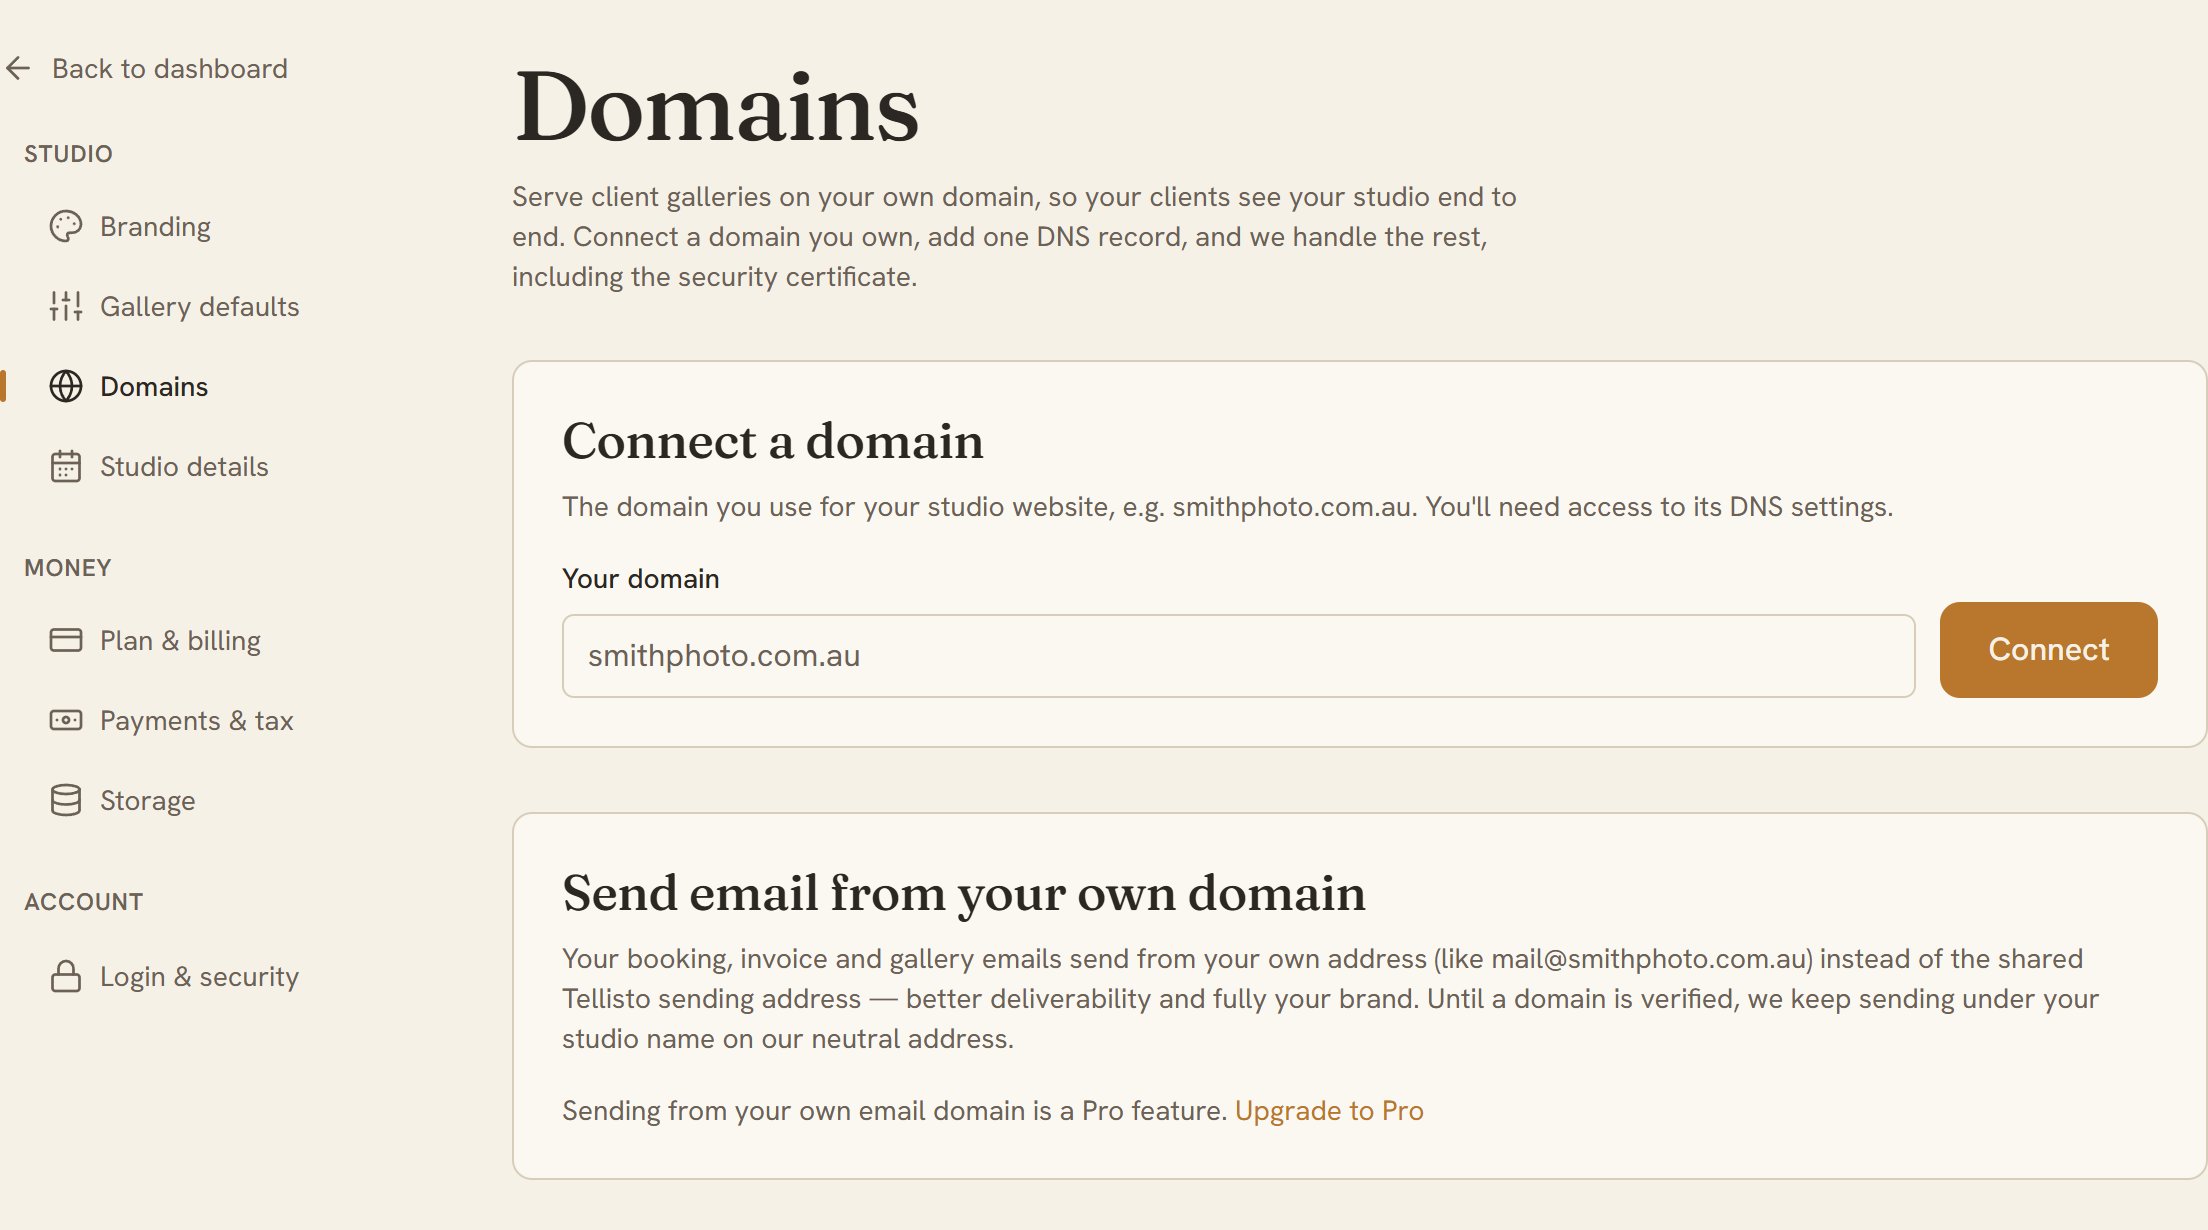
- Under Client galleries, choose the address your galleries will live on: most studios pick "gallery" or "photos", so gallery.smithphoto.com.au. The wizard then gives you one DNS record, the exact type and value, and its best guess at your registrar so it can point you straight at the right settings screen.
- Add that record in your domain's DNS console. Click Check now for an immediate answer, or just leave it: Tellisto keeps checking on its own. DNS changes usually spread within an hour, and you'll get an email the moment your gallery address is live with its own certificate.
- Now test it. Once it's live, open a client gallery link on your new domain and check the address bar. It's carrying your studio's own domain end to end, with nothing pointing back at Tellisto.