Publish a client gallery and send the link
Upload the photos from a shoot, group them into sections, and send your client a gallery link that carries your studio's branding, not Tellisto's.
3 things to set up · about 9 minutes all up
Skip to the setup ↓From edited shoot to your client's phone: the 33-second overview.
What this does
A gallery is how a client sees their photos. You upload the shoot, put it in order and send one link. Everything on that link carries your studio’s branding, and your client never sees Tellisto’s name on it.
Publishing fixes what’s live. Anything you add or rearrange afterwards stays private until you publish the changes, so your client never watches you edit.
Each task below ends with a check. By the end you’ll have previewed the gallery as your client will see it and opened the real link on your own phone.
Set it up
Step 1 of 3 · 2 min
Create the gallery
A draft gallery with your studio's branding already on it, open on the Photos tab and ready for the shoot's photos.
- In Tellisto, go to Galleries → New gallery. The only thing it asks for is a title (something like "Sarah & Tom, Spring Wedding"), and you can change it any time. Start a gallery
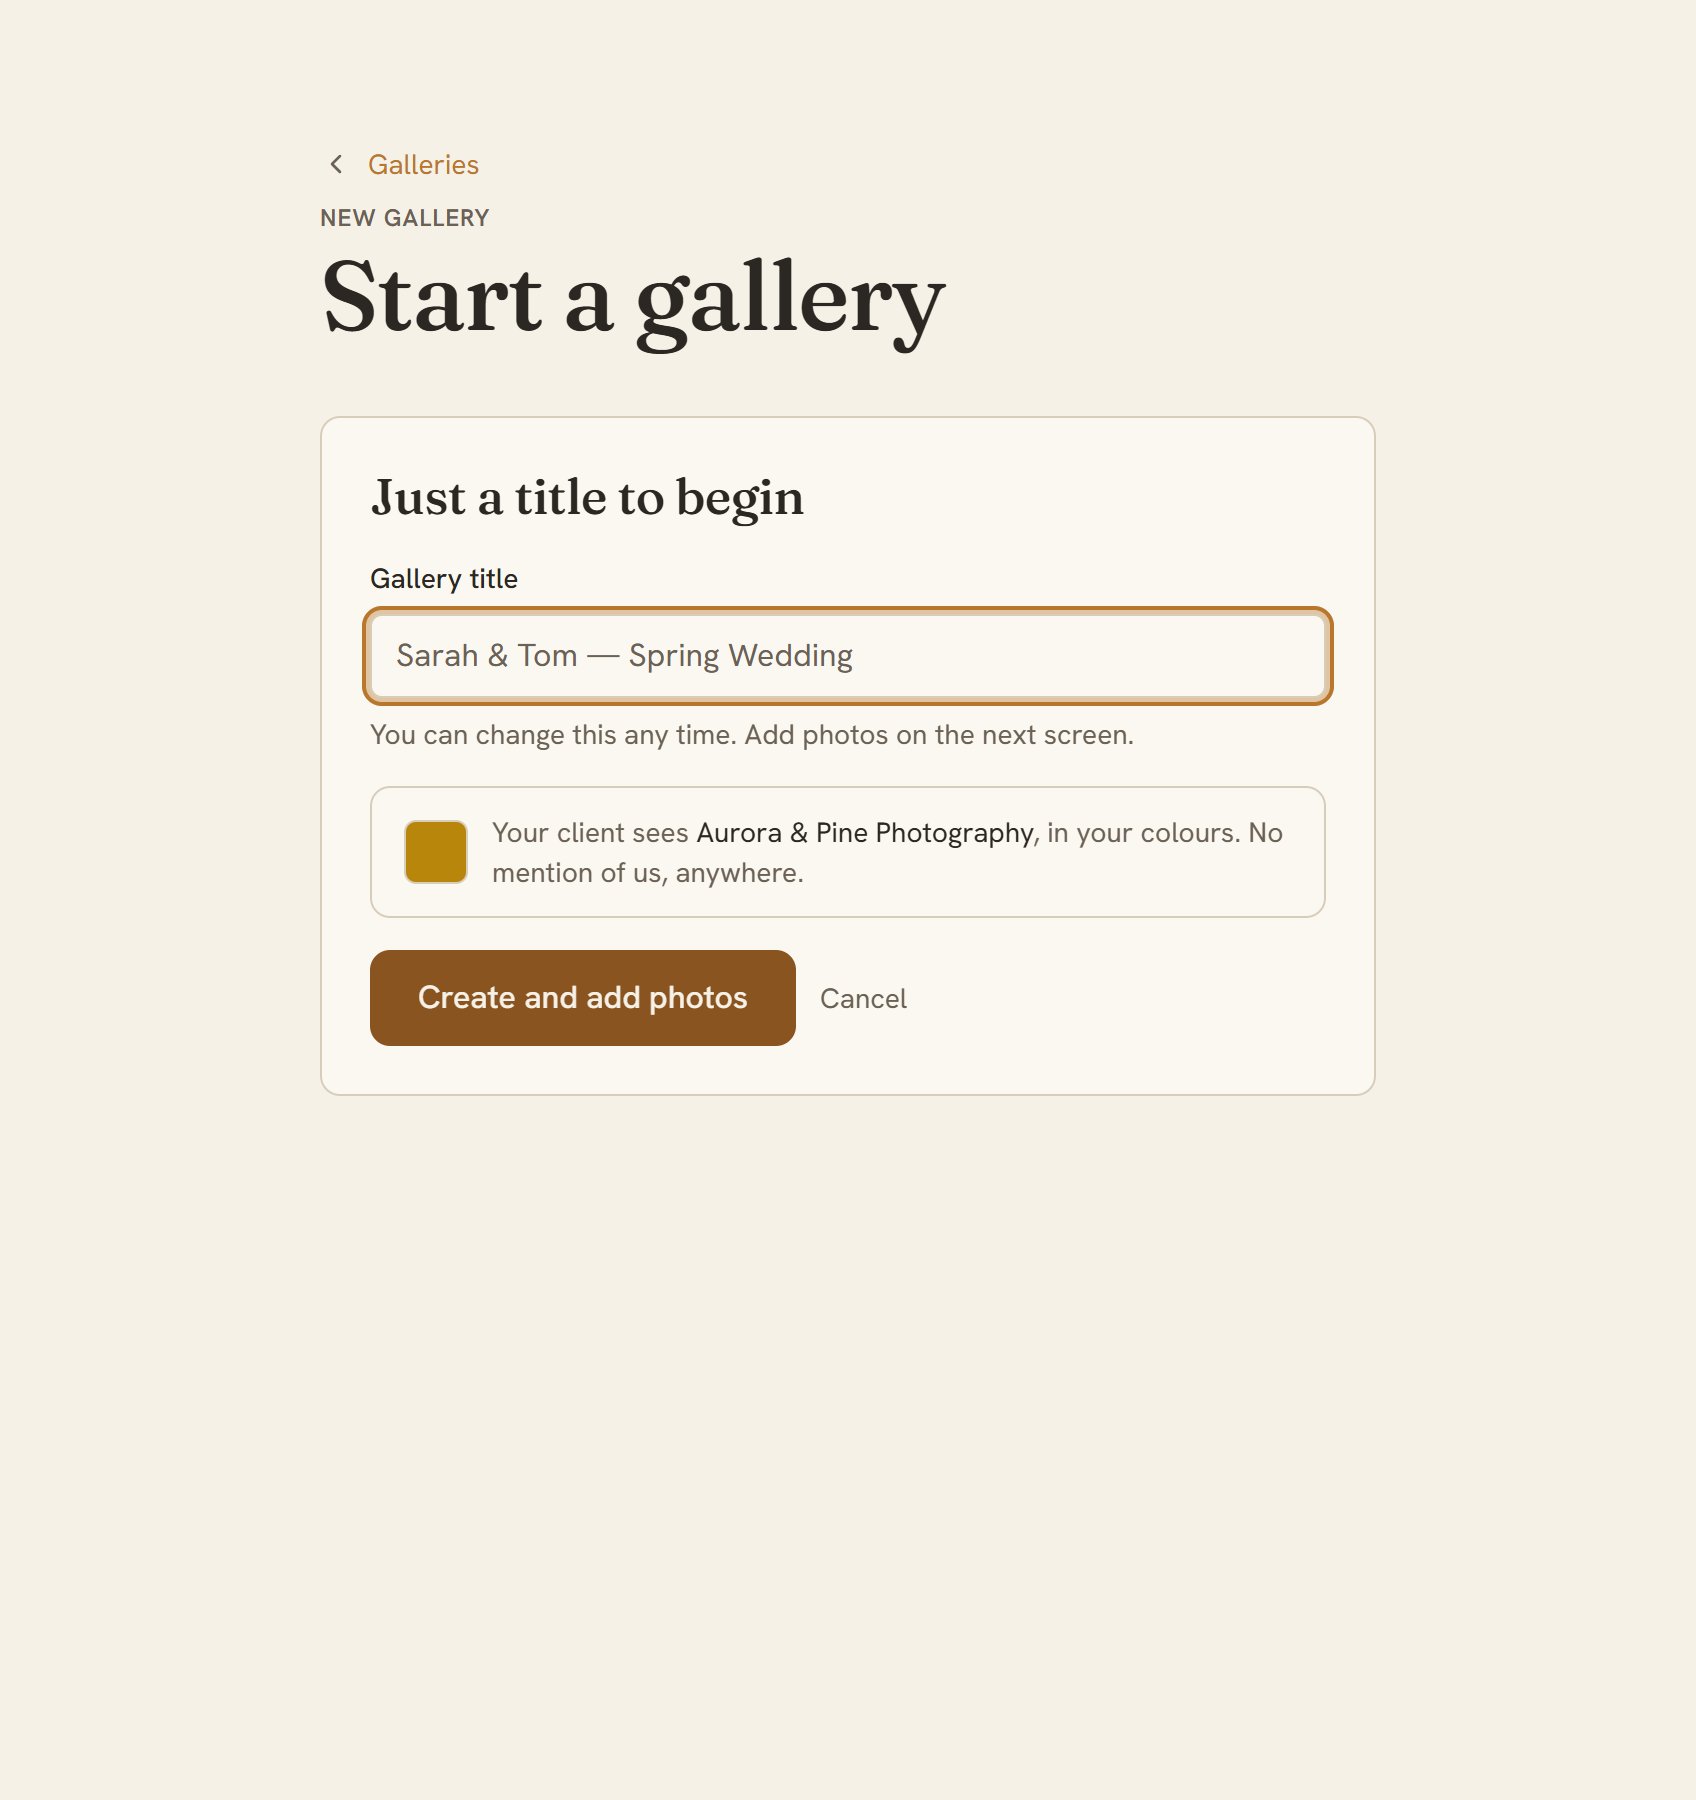
- Hit Create and add photos. You land straight on the Photos tab: the gallery already carries your studio name and colours, so there's nothing to set up before you upload.
Step 2 of 3 · 5 min
Add and arrange your photos
Every photo from the shoot uploaded and grouped into the sections your client will see.
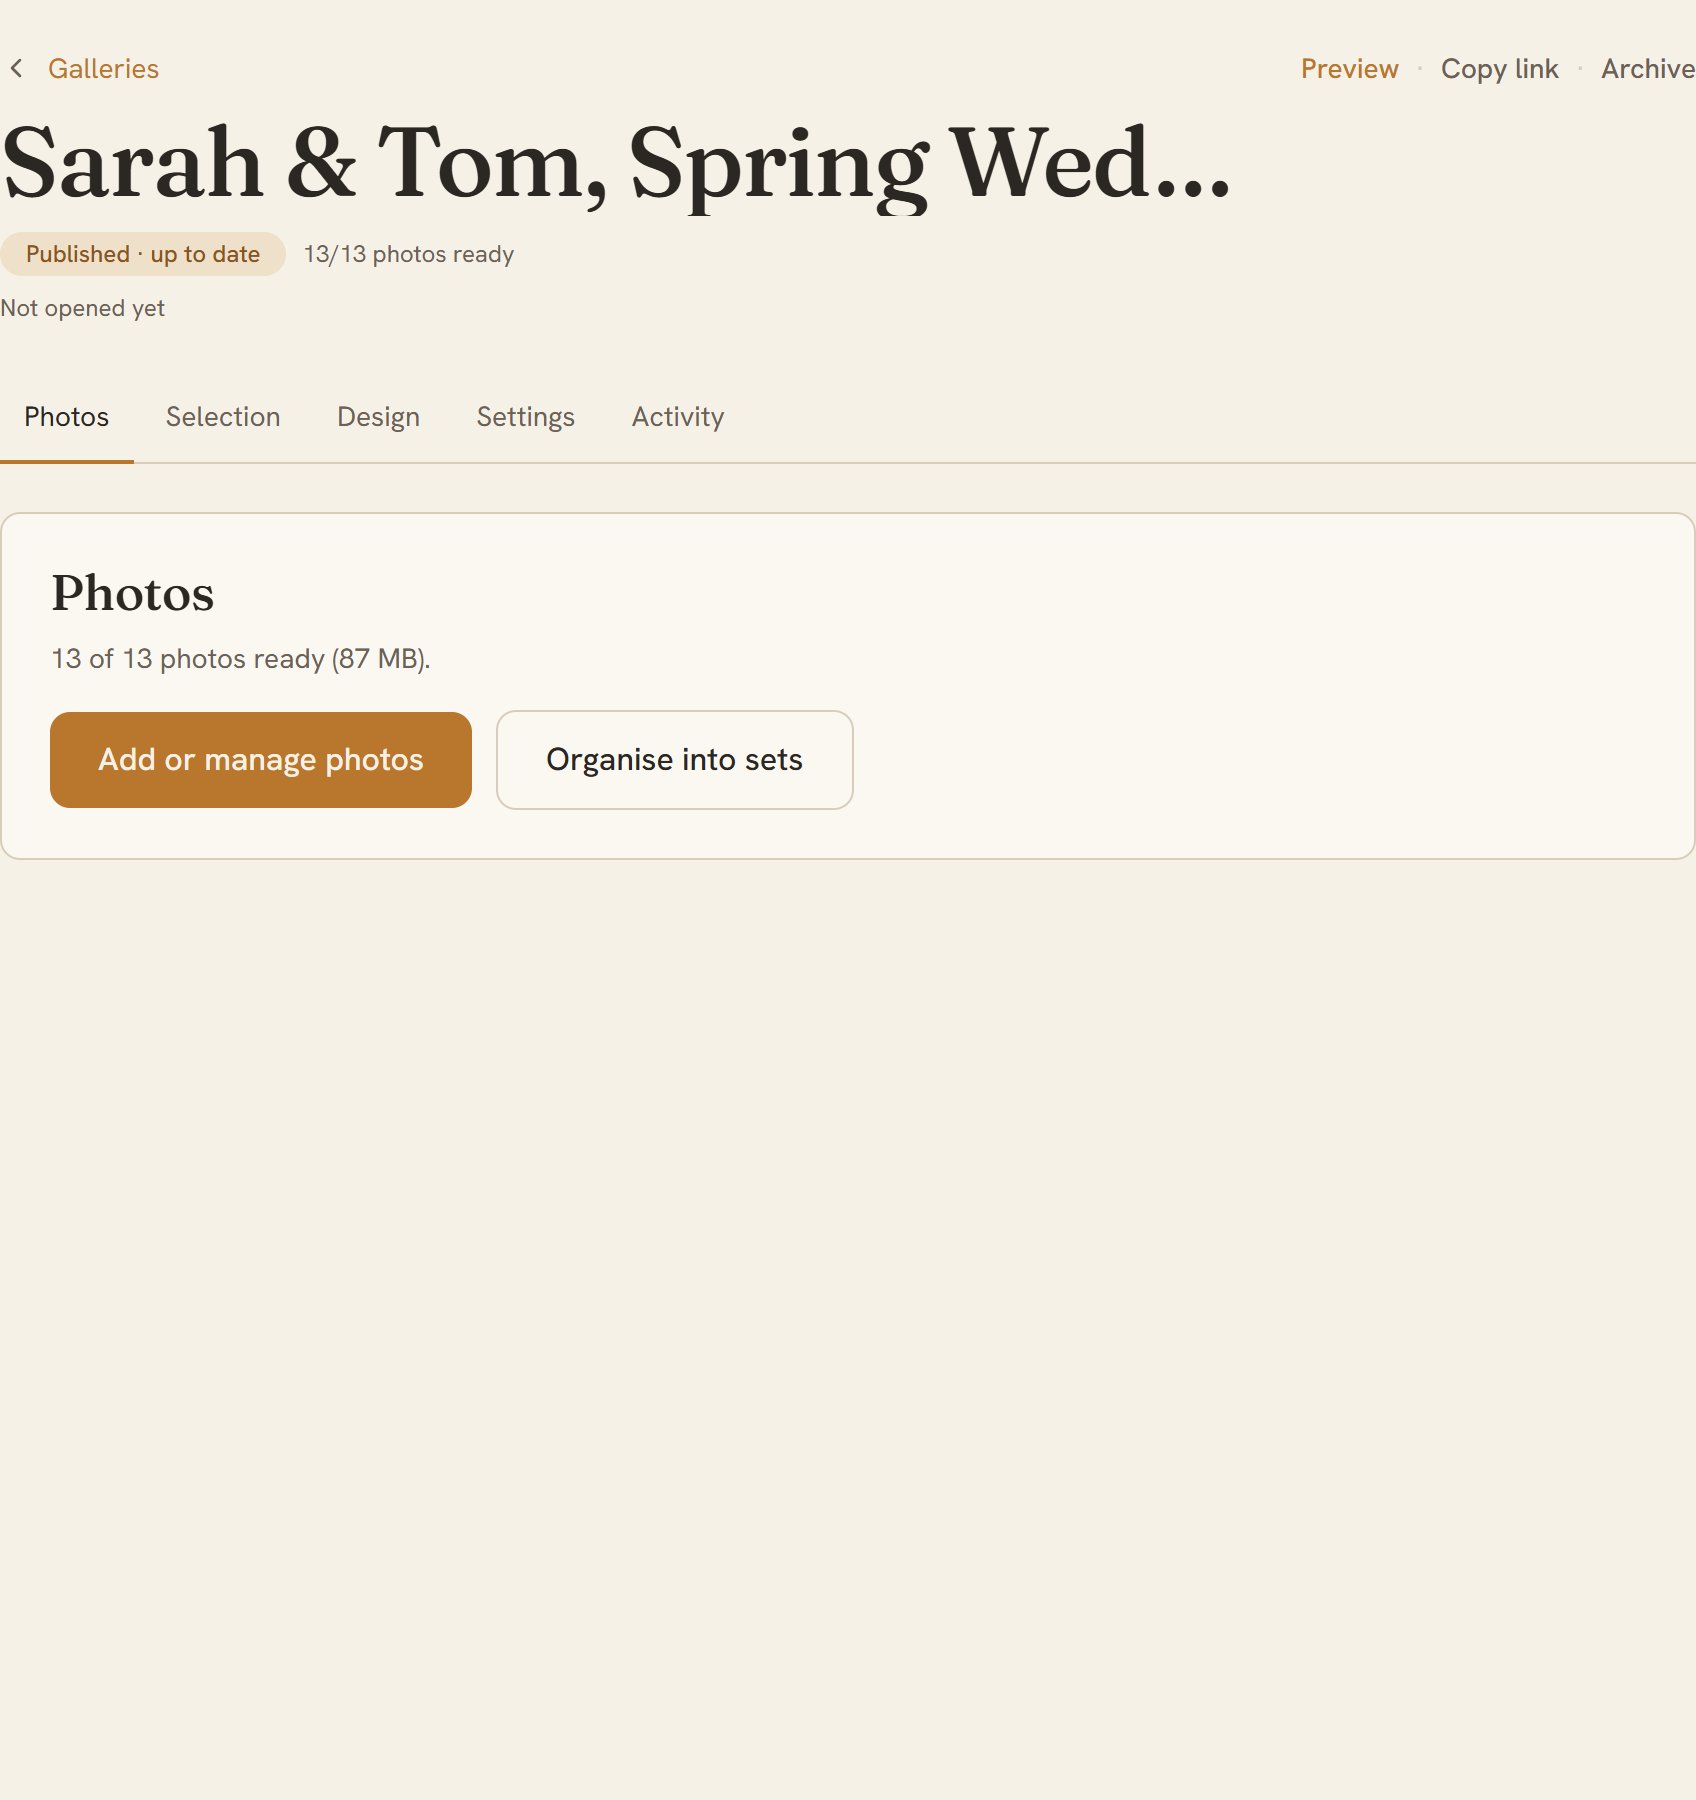
- Drag the whole export folder onto the Photos tab. Uploads run several at a time, each with its own progress, speed and time-left, and you can keep working elsewhere in Tellisto while they run. If your connection drops mid-upload, they pick up from where they got to when you come back. Open your galleries
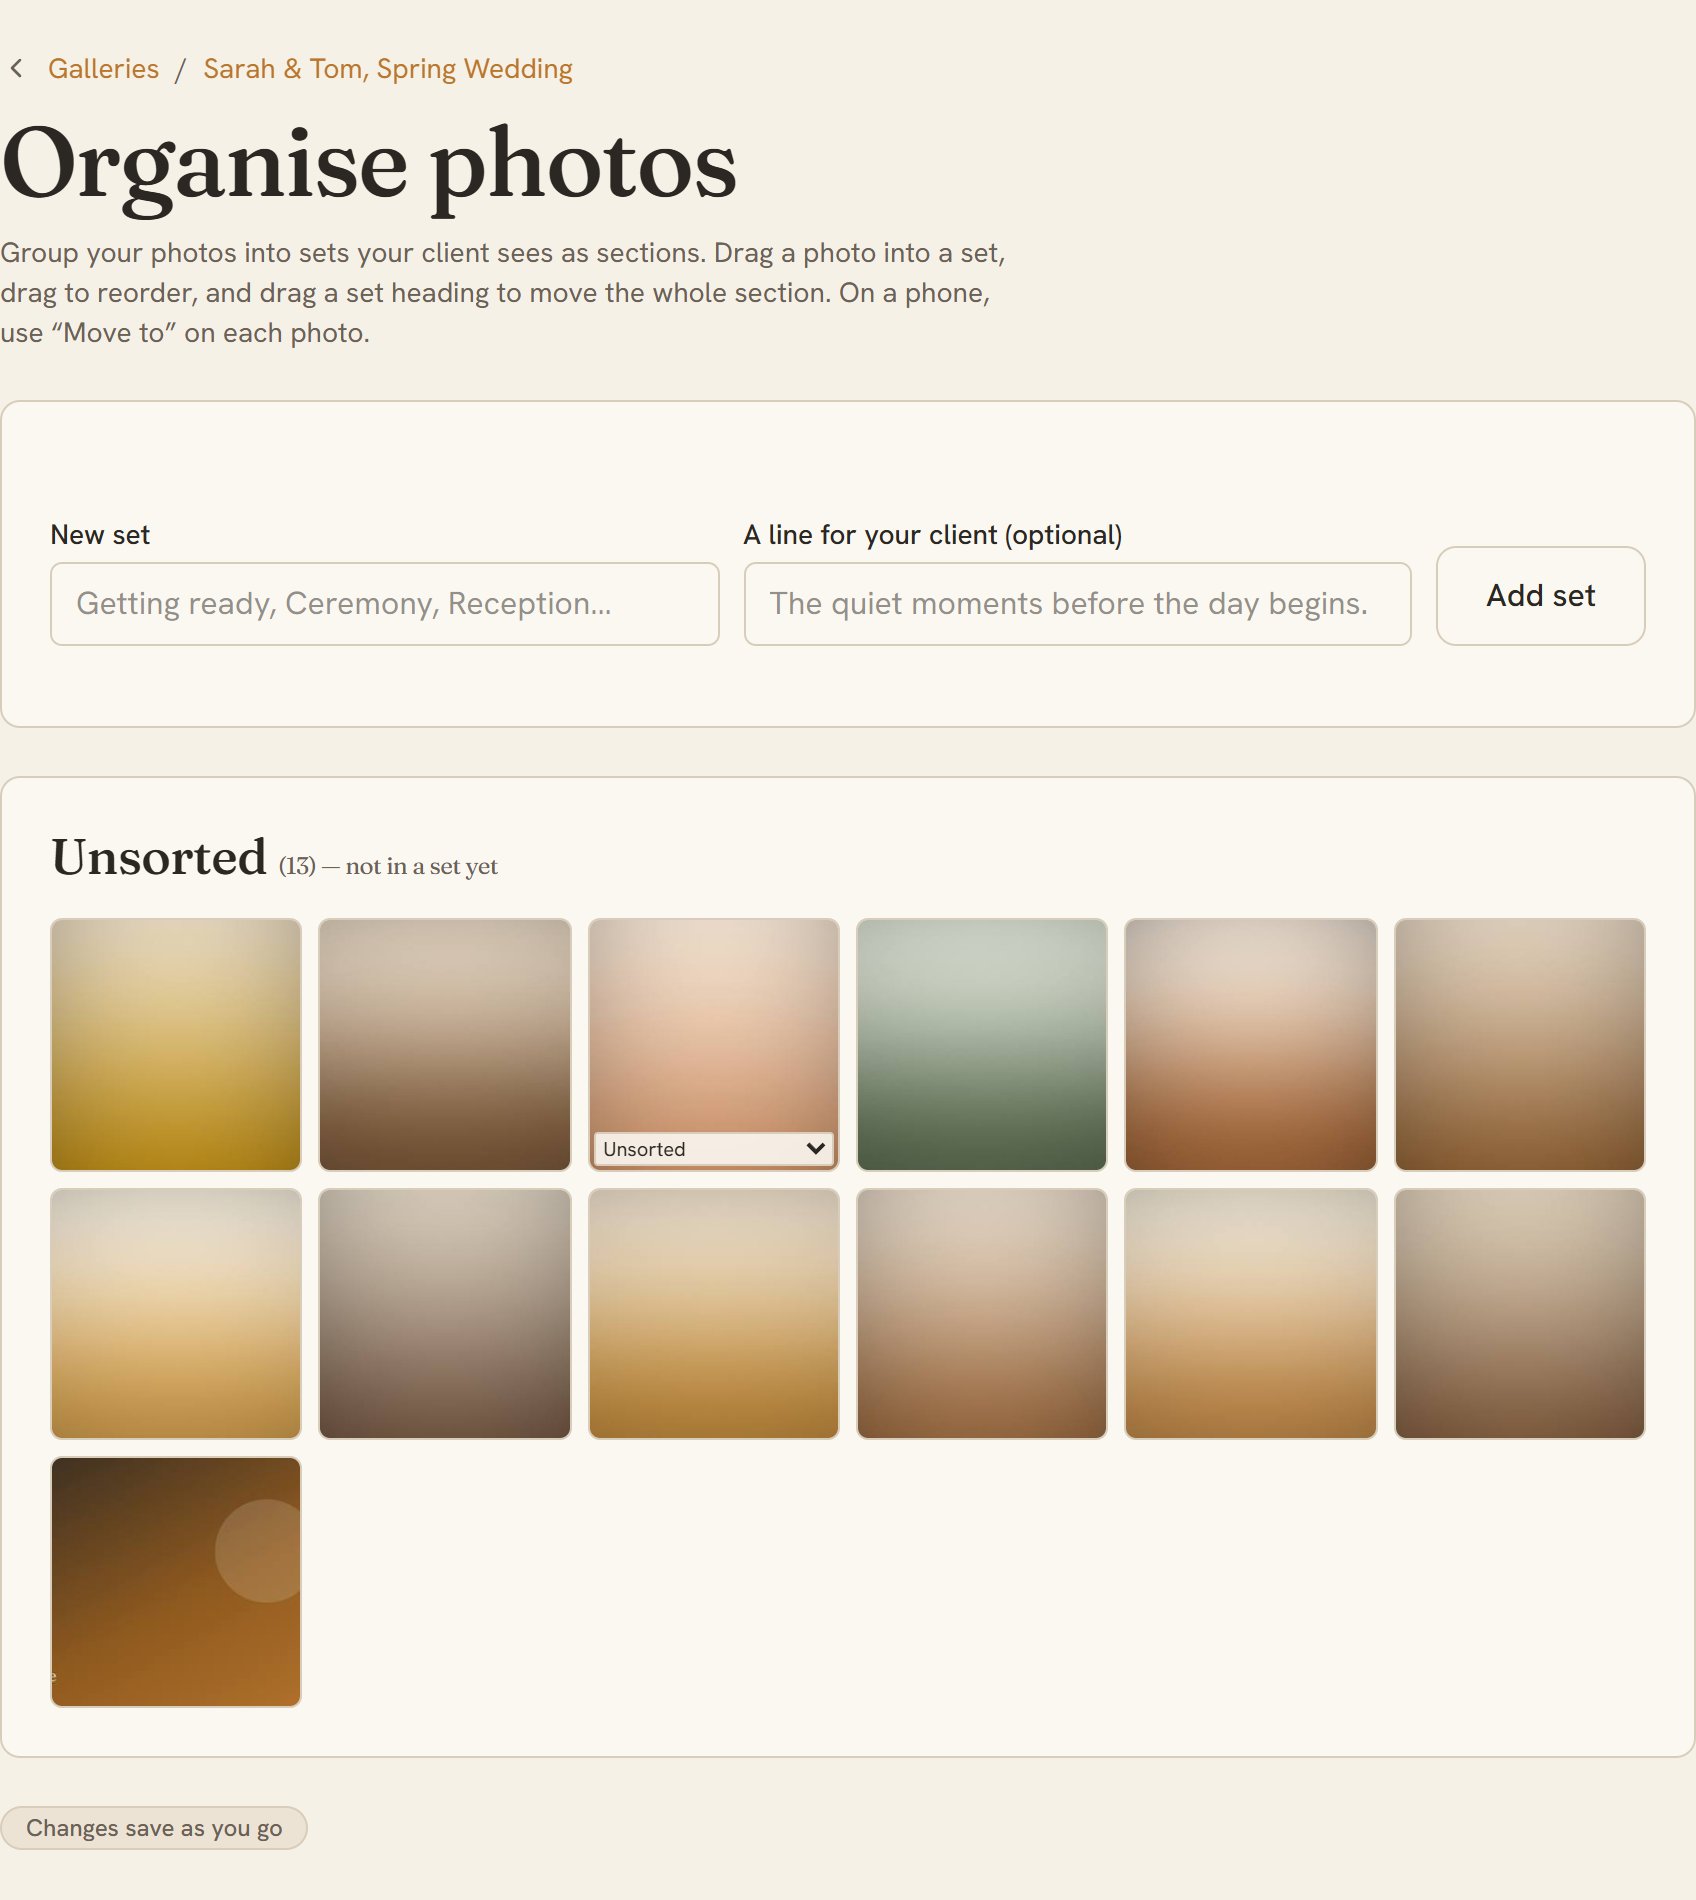
- Group the photos into sets, the sections your client sees (Ceremony, Reception, Details, whatever suits the shoot). Drag a photo into a set, drag to reorder within it, and drag a set's heading to move the whole section. On a phone, use Move to on each photo instead of dragging.
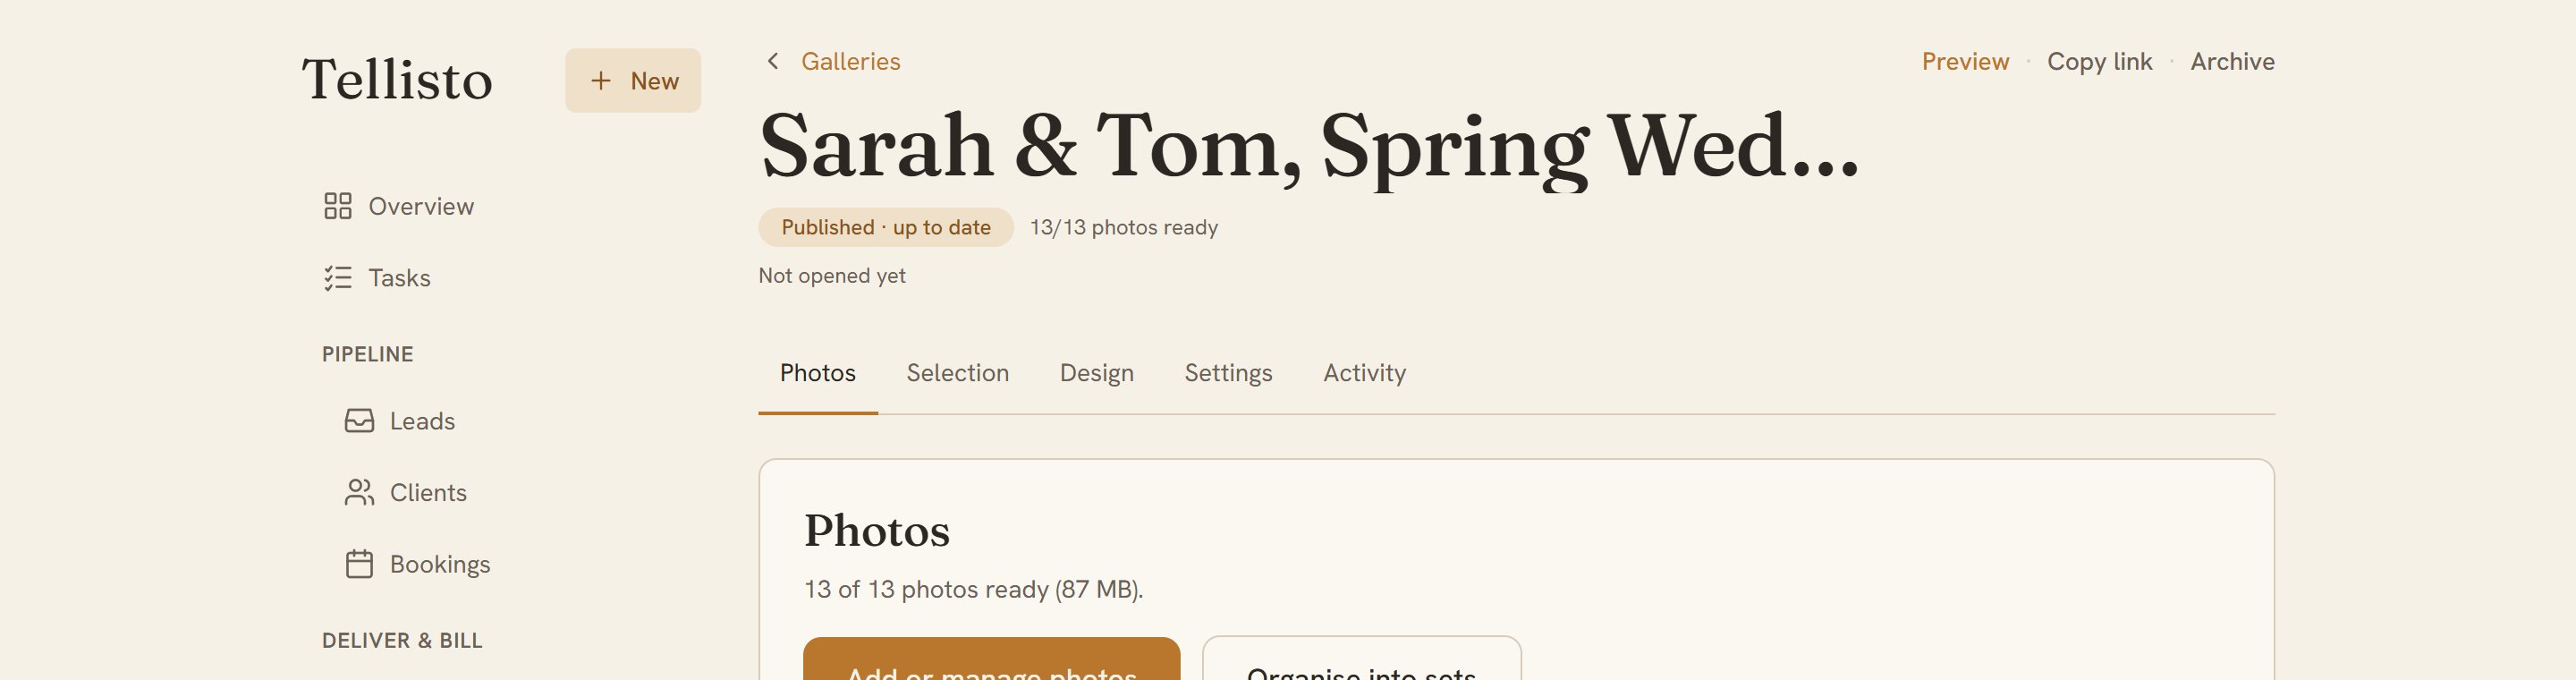
- Now check it. Open Preview in the gallery header: it opens in a new tab and shows exactly what your client will see once you publish, so you can catch a stray photo or an out-of-order section before anyone else does.
Step 3 of 3 · 2 min
Publish and send it
A published gallery link with your branding and no Tellisto name, sent to your client and ready to open on any phone.
- Back on the gallery, hit Publish. If Tellisto asks you to verify your business first, that's a one-time step: finish it and you land straight back here to publish. Open your galleries
- Once it's live, Copy link appears next to Preview. That's the link your client opens. It uses your studio's own address, with no mention of Tellisto anywhere. By default, anyone with the link can open it straight away. For boudoir, newborns, or anything you'd rather keep off search, turn on Private gallery in Settings first: it hides every photo behind your branding until your client enters an access code Tellisto sets for you. You can also add that same kind of code to a public gallery, so the link alone isn't enough if it gets forwarded.
- Now test it. Send yourself the link, or just paste it into your phone's browser, and open it like a client would. What you see is exactly what they get.
The detail
How it behaves
Delivering galleries is the core of the job: getting a finished shoot to a client, under your own name, without any fuss. This page covers every step, from your exported files to a link in your client’s hands. It also points out the small mistakes people make on a first gallery. If you haven’t set up your studio yet, start with your first day in Tellisto and come back.
Before you upload: get your files right
Export flattened JPEGs, the same ones you’d give a client anywhere. Tellisto accepts JPEG, PNG and WebP on every plan, and every photo reaches your client as a JPEG whatever format you uploaded. Two formats aren’t supported yet. One is HEIC, which an iPhone shoots unless you’ve changed its settings, and the other is camera raw. Convert those to JPEG first. Raw is planned as a Pro feature but isn’t available yet, so don’t plan your first gallery around it.
Each plan has a size limit per photo. On the free plan each photo can be up to 50 megapixels and 200 MB. On Pro, it’s up to 150 megapixels and 400 MB. The limit is per photo, not per gallery, so a full shoot of full-resolution files is no trouble. Your originals also keep their own colour profile. An Adobe RGB or CMYK master stays exactly as you made it. Only the copies shown on screen convert to sRGB, so they display correctly in a browser.
Upload the whole shoot at once
Drag in the entire shoot, hundreds of photos at once. The upload keeps running in the background while you work elsewhere in the app, so you don’t have to watch a progress bar. If your connection drops, it picks up where it left off rather than starting over. If a photo fails, the app tells you and you get an email about it, so no photo goes missing without you knowing. Uploads run one gallery at a time, which is all you need for a single delivery.
Organise it in the order the day happened
A gallery should be more than a folder of files. Split it into photo sets that follow the day: Getting ready, Ceremony, Reception, each under its own heading. Tellisto keeps your exact order, so the top-left photo is the first one a client sees. Arrange the photos in the order you want them to see them.
Two habits to avoid on a first gallery. First, name the gallery for the client, not for your filing system. “Smith Wedding” looks like you made it for them, while “2026-018” looks like an internal job code. Second, choose the cover photo yourself. It’s the first thing they see and it sets the tone for the rest, so don’t let the uploader pick one at random. Making a gallery look like your studio built it covers layout, covers and the three presets in more depth.
See it exactly as your client will
Before you publish, preview the gallery as your client will see it. The preview is the same page and layout they’ll get, so you can fix a weak cover or a set in the wrong order before anyone sees it. This step is what makes a gallery look carefully put together.
Publish and send
The first time you publish, you’ll be asked to verify your studio. You only do this once, and on Pro your payment verifies you automatically.
Once it’s live, the gallery has a clean studio address on a neutral gallery domain, with no Tellisto anywhere in the URL. As far as your client can tell, you built it yourself. Send them that one link. For extra protection, add a PIN so only the people your client shares it with can get in. Without a PIN, the link is a long random address that nobody will reach by mistyping. Not sure what to write in the message with the link? See what to write when you send a gallery.
On the free plan you can keep two galleries live at a time, which is enough to have one client’s delivery out while you prepare the next. Pro raises that to unlimited.
After you hit send
The gallery’s own page shows whether your client has viewed or downloaded it, so you know whether the link reached them. If it sits unopened for a while, Tellisto sends you one reminder so the gallery doesn’t go unseen. From here, your client can favourite the photos they love and download the ones they want. How clients view, favourite and download their photos explains their side.
The gallery stays live for as long as you keep it. It doesn’t time out when nobody visits, nothing archives in the background, and there’s no expiry date to remember. That’s your first delivery done. The next one is faster, because now you know the steps.
Frequently asked questions
Quick answers
What file formats can I upload to a gallery?
JPEG, PNG and WebP, on every plan. Your clients always receive JPEGs, whatever you send up. HEIC (the format an iPhone shoots by default) and camera raw aren't supported yet, so convert those to JPEG before you upload. Raw is planned as a Pro feature but isn't available yet, so don't count on it for this job.
Is there a size limit per photo?
Yes, and it's per photo, not per gallery. On the free plan each photo can be up to 50 megapixels and 200 MB. On Pro, it's up to 150 megapixels and 400 MB. That's enough for a full-resolution JPEG from any current camera. A single gallery can use your whole plan allowance, so a full shoot of large files is fine.
How long does the gallery stay live?
For as long as you keep it. Galleries don't time out when nobody visits, and nothing archives in the background. A gallery comes down when you take it down, and not before. If a client wants to keep their photos long term, they can use the Client Vault.
Can I change a gallery after I've sent it?
Yes, and your client sees nothing until you're ready. A delivered gallery becomes a private draft you can edit freely, and your changes only reach the client when you Push live. Every step is in editing a gallery after delivery.
Do my clients need an app or an account to view the gallery?
No. It's a web page that opens from the link you send and loads quickly on a phone. There's nothing to install and no login to create. They tap the link and see the photos.
Keep going