Set up your studio in Tellisto
Confirm your email, verify your business, set your studio name and colour, and publish a first gallery so you see exactly what a client sees.
3 things to set up · about 10 minutes all up
Skip to the setup ↓Name, brand, first client, first gallery: the 37-second overview.
What this does
Setting up your studio comes down to three things. Prove the account is yours. Make the pages your clients see look like your studio rather than a template. Then take one gallery all the way to a link you can send. Once that’s done, the rest of Tellisto follows the same pattern.
Your dashboard has the same checklist built in, under Getting set up. It reads your real account state and ticks off each item as you do it, so there’s nothing to tick by hand. Work through it here or there, and the two stay in sync.
Each task below ends with a test. By the end you’ll have confirmed your account, seen your branding the way a client sees it, and opened a real gallery on your phone.
Set it up
Step 1 of 3 · 2 min
Confirm your email and verify your studio
Your account confirmed and your studio verified, so nothing blocks you from publishing.
- Open the confirmation email Tellisto sent you and click the link inside. If it's not in your inbox, your dashboard has a Resend the link button at the top. Open your dashboard
- Then verify your business: your ABN or NZBN, or a card if you don't have one yet (a $1 authorisation that's never charged). It takes about a minute, and it's what unlocks publishing. Verify your business
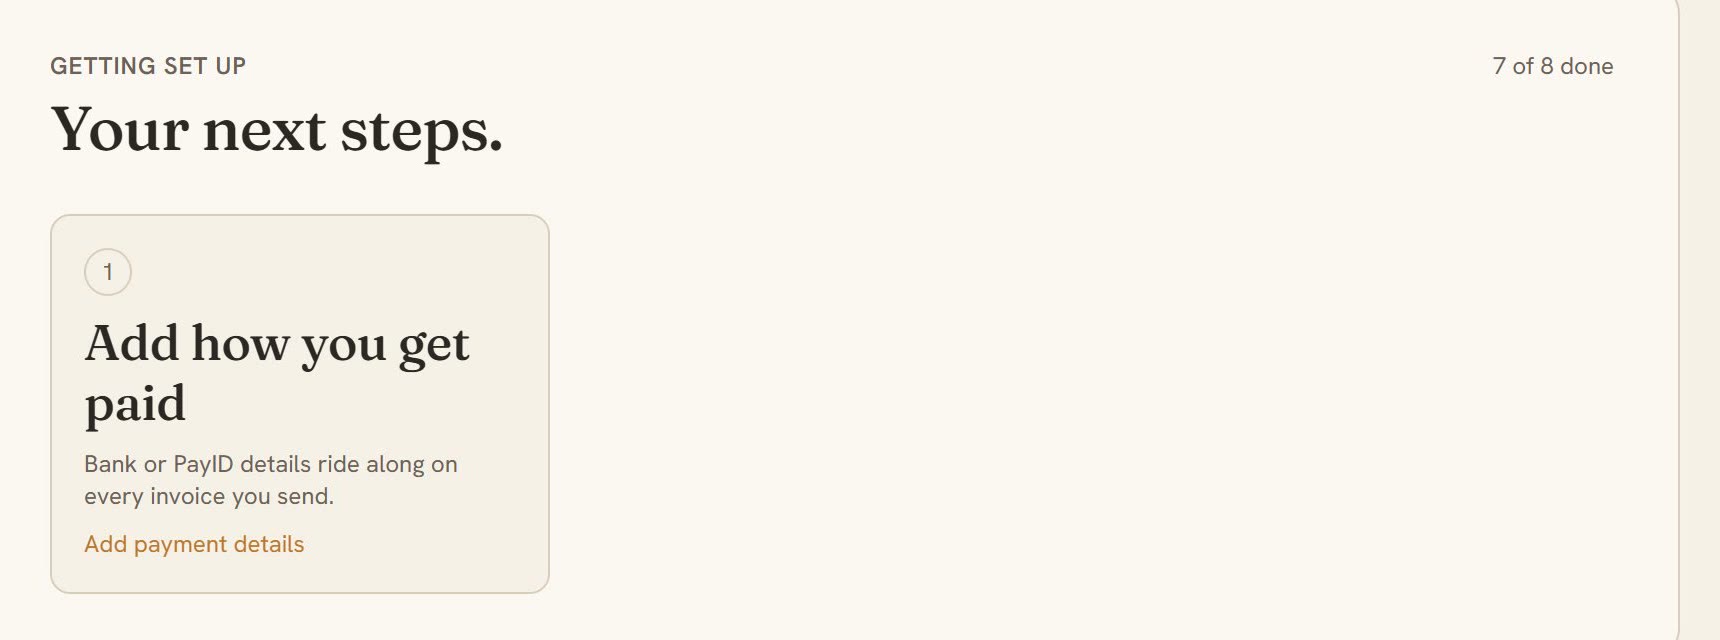
- Now check it. Back on your dashboard, the getting-set-up card ticks both of these off on its own. It reads your real account state, so there's nothing to mark done yourself. Open your dashboard
Step 2 of 3 · 3 min
Make it yours
Your studio name and brand colour set, so every gallery and email carries your name.
- Go to Settings → Branding and set your studio name and accent colour. Open branding
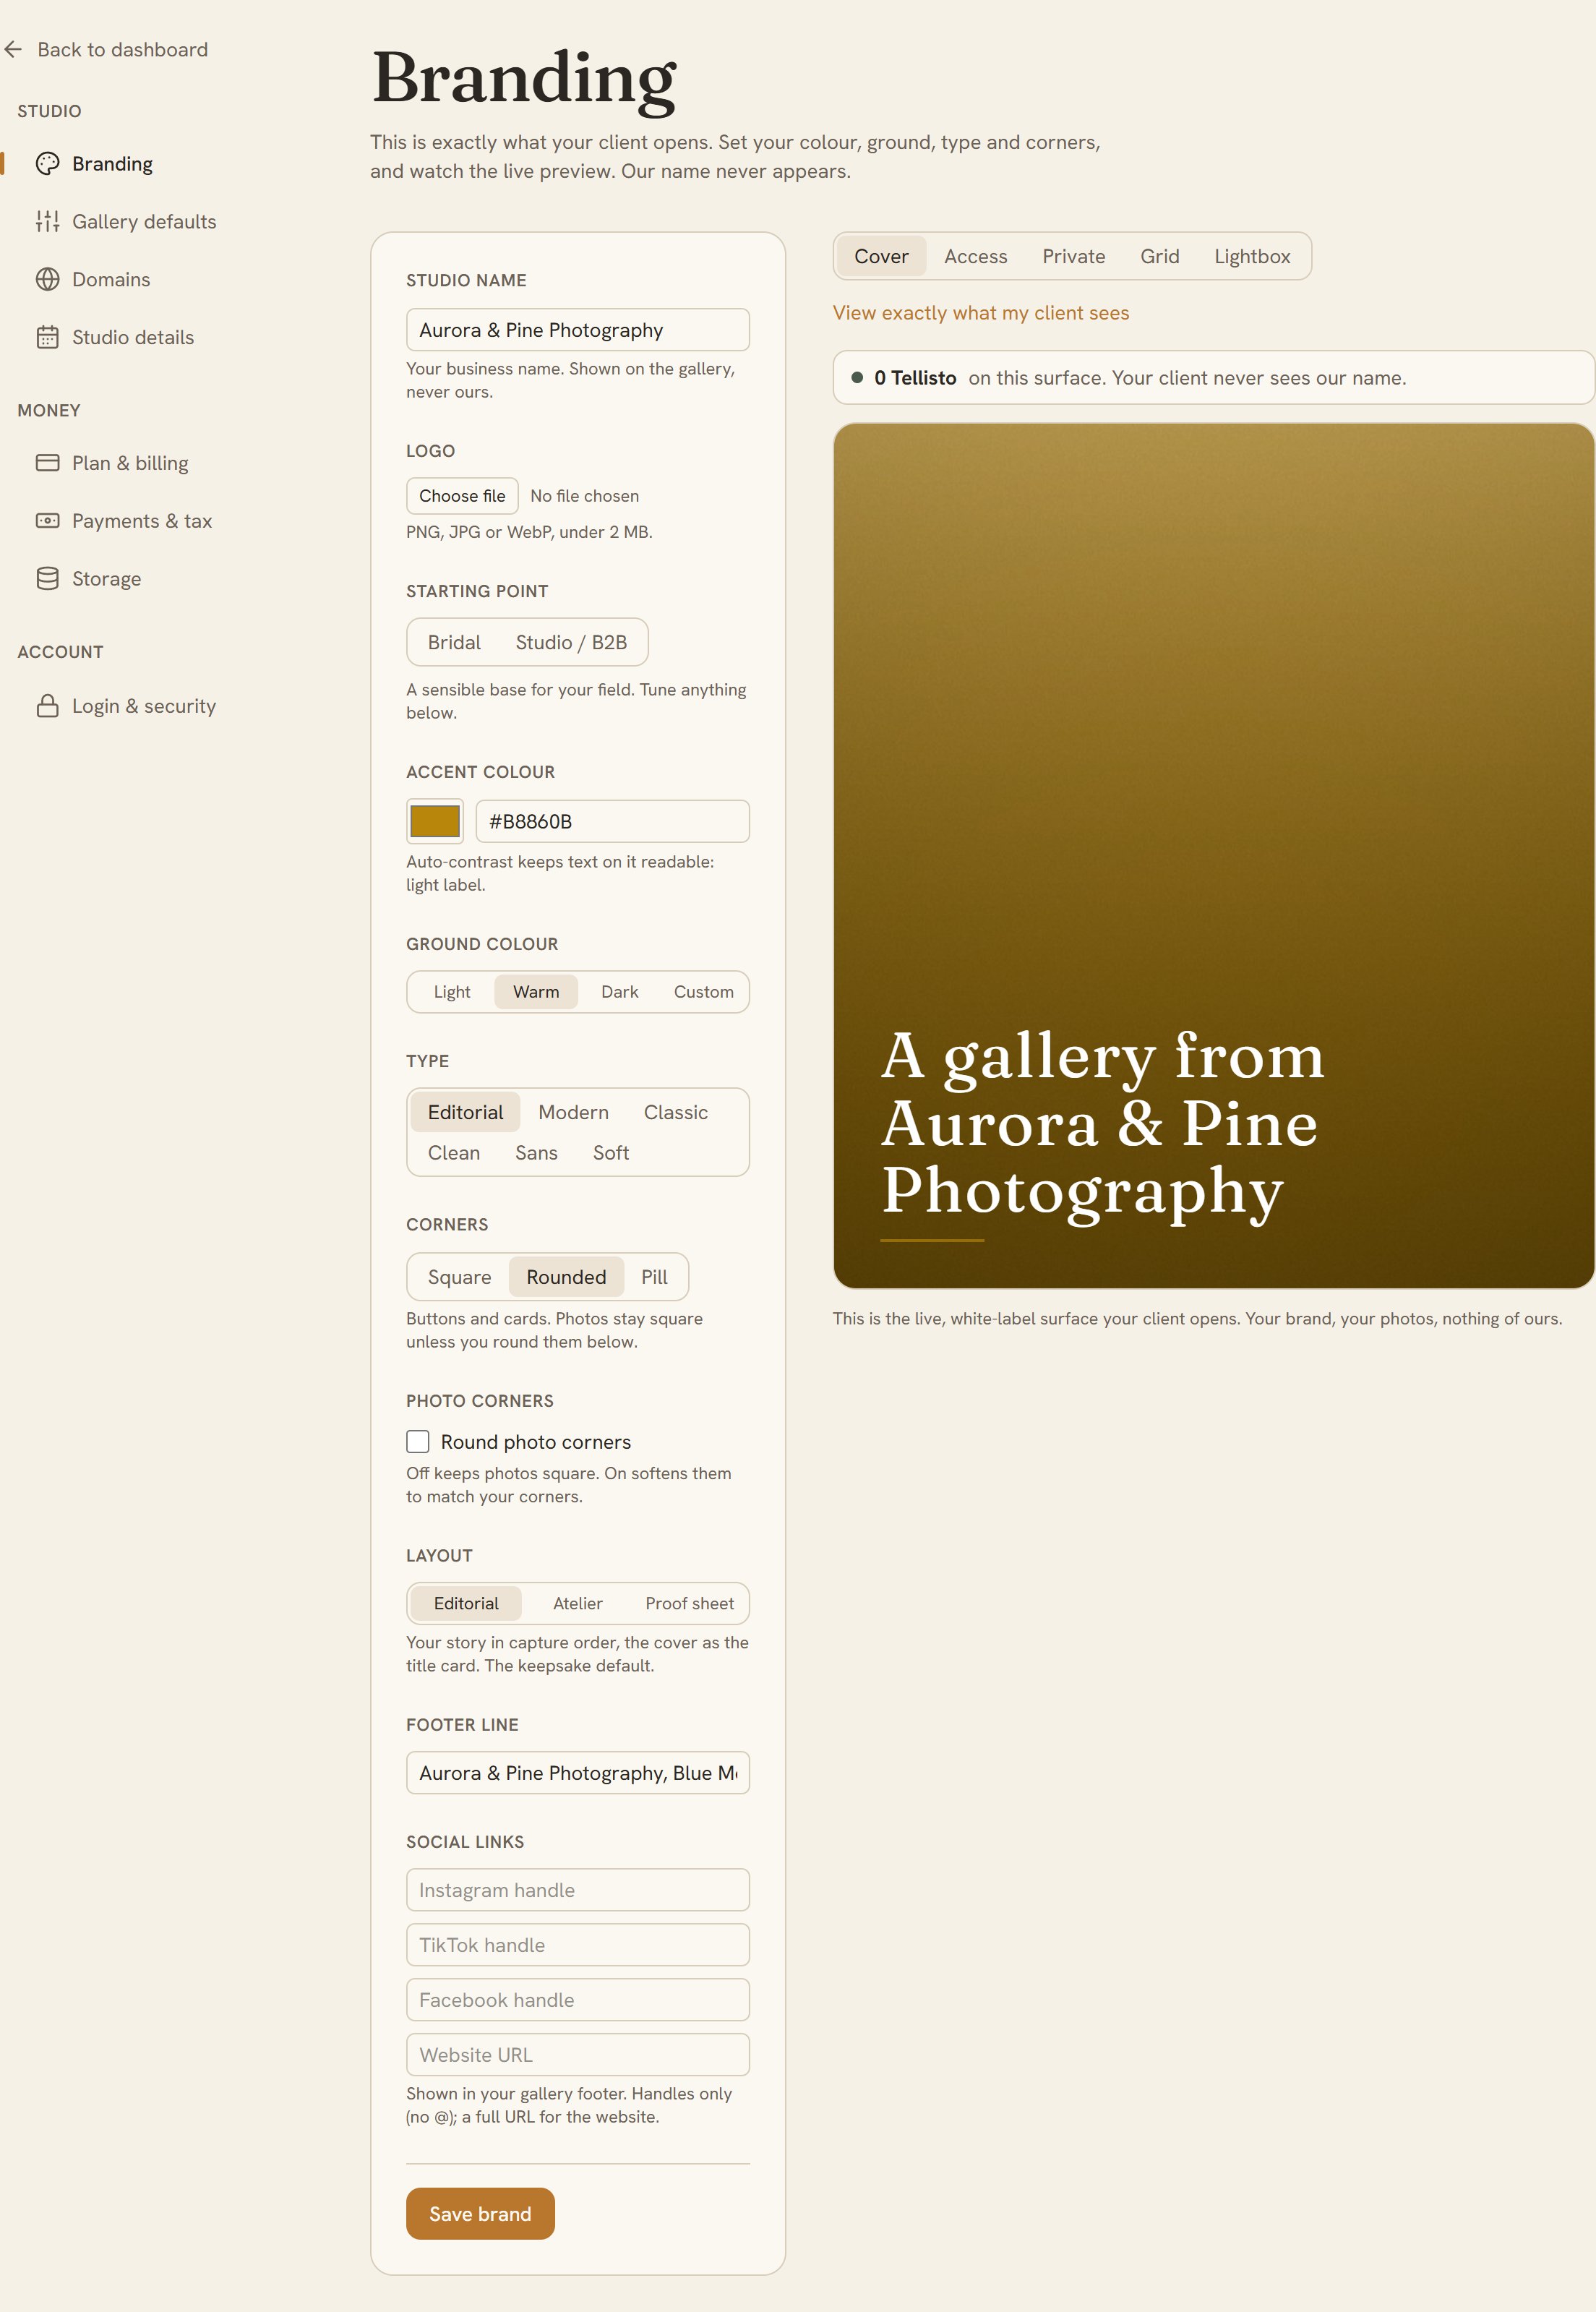
- The live preview beside the settings is exactly what a client opens: your colour, your name, your studio, and Tellisto nowhere on it.
- Now look at it. Check the preview shows your studio, not a placeholder. That's what goes out on every gallery link you send from here.
Step 3 of 3 · 5 min
Create, fill, and publish your first gallery
A real gallery, published, with a link you've opened yourself like a client would.
- Create a gallery. You only need a title to start. New gallery
- Drag your photos in. Tellisto makes the client-ready sizes for you, so there's nothing to export or resize first.
- Publish it, then use Copy link in the header to grab the client link.
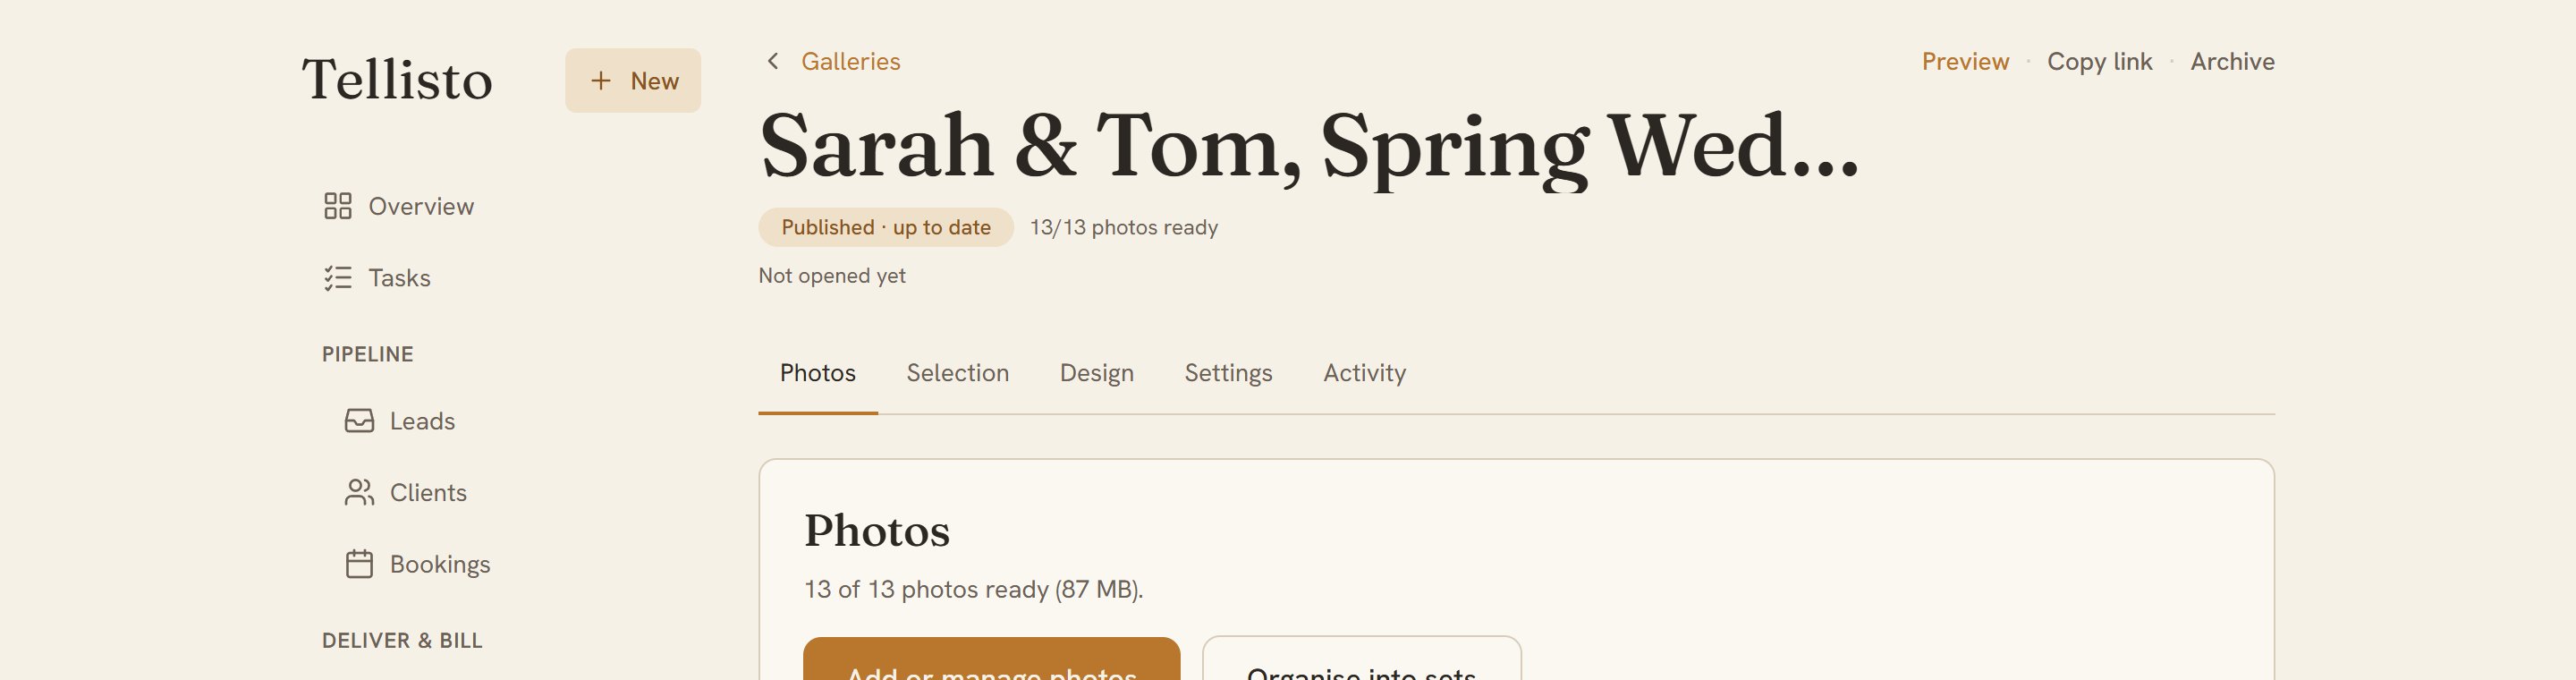
- Now test it. Open that link on your phone, like a client would. That's the gallery exactly as they'll see it: your branding, your photos. Open your galleries
The detail
How it behaves
This page is for the photographer who has just signed up, or is about to, and wants to know what to do first. In short, Tellisto doesn’t give you a blank dashboard and a tour. It starts you on a real job, and most of what looks like setup can wait. You’ll have a branded studio and your first job on the board in about ten minutes.
Signing up, and the three questions
When you create your account, Tellisto asks three short questions. What do you shoot, what would you like to sort out first, and are you moving across from another CRM? (Say yes to the last one and it sets up moving-in instructions for the tool you’re leaving.) You can skip all of them. They don’t block anything or lock you into a category. They tailor the demo and your getting-started steps, so a wedding photographer isn’t shown a newborn workflow. Skip them if you’re in a hurry and come back later, or answer them now so the app fits how you work.
Before you upload photos, confirm your email address. New accounts have to verify their email before uploads are allowed, so if uploads aren’t working yet, that’s why. Check your inbox and click the link. You only have to do it once.
Your first real job comes first
A brand-new account doesn’t open onto an empty grid of numbers. The home screen walks you through creating your first real job instead of poking around a demo. That job is either an upcoming shoot you want to organise, or a recent one you’re ready to deliver. The demo stays alongside as a reference, not a replacement for your own work. You learn the app by doing the job you signed up to do.
If you’ve got a shoot this weekend, start there. Create the booking now and the gallery for it is already linked and waiting. When you’re back at your desk with a card full of photos, there’s nothing to set up first. Deliver your first gallery, start to finish is the next thing to read when you get there.
Brand your studio early
This is the one bit of setup worth doing on day one, because it shows up everywhere. Set your logo and accent colour and they appear on every gallery and every email your clients get. Your clients see your studio from start to finish: your logo on the gallery, your name on every email, your own studio address on the link they open. That white-label branding is on every plan, free included.
Ten minutes here means the first link you send doesn’t look generic. For the full detail on how presentation works, read gallery branding, layouts and your own domain. The logo and colour are all you need to start.
How the home briefing works
Once a real job exists, the home screen switches from setup steps to a briefing. It isn’t a stats page, and there’s nothing to interpret. It sorts what’s in front of you into four lanes:
- Today: the shoots happening and the tasks due, plus tomorrow’s shoots, so the night-before prep is never a surprise.
- Needs you: unreplied enquiries (including any you logged by hand), money items, and the next thing waiting on your move.
- Waiting on them: jobs where the next step is the client’s, so you don’t chase what isn’t yours to chase yet.
- Handled for you: what Tellisto already did for you, like an auto-reply that went out or a reminder that was sent.
Every lead, booking, gallery and invoice page shows a suggested next action, so you’re never looking at a record wondering what to do with it. If something isn’t relevant today, you can snooze it or dismiss it. The briefing is meant to be cleared, not to pile up.
What can wait for week two
Plenty of the app is worth setting up eventually, but none of it on your first day. Don’t try to configure everything now.
- A custom domain for your galleries. It’s a Pro feature and a useful one, but your galleries already sit on a studio-branded address from day one. The custom domain is a finishing touch, not something you need first.
- Rewriting the auto-reply. New studios already have an instant branded reply to new enquiries switched on. It works out of the box. Making it sound exactly like you is a week-two job, and the automations guide covers it when you’re ready.
- The Client Vault. This is how clients pay to keep their gallery long-term, and it also earns Pro photographers a share. It matters once you’ve delivered a few galleries, not on day one.
Do the two things that pay off straight away: brand your studio, and get your first real job onto the board. You’ll get to the rest as the work needs it, and nothing nags you to set up features you’re not using yet.
Frequently asked questions
Quick answers
Do I need a credit card to sign up for Tellisto?
No. The free plan isn't a cut-down trial. It gives you 20 GB of storage and two live galleries at a time, with the full back-office, the automated emails and the white-label galleries all included. There's no card and no trial clock. You upgrade to Pro if and when your work needs it.
How long does it take to set up Tellisto?
About ten minutes to brand your studio and get your first real job on the board. There's no migration weekend and nothing to configure before you start. If you'd rather move an existing studio across, the switching guide walks through it.
Can I skip the questions it asks when I sign up?
Yes, all of them. The questions (what you shoot, what you want to sort first, and whether you're moving from another tool) only tailor the demo, your getting-started steps and, if you're switching, the moving-in instructions. Skip them now and the app works exactly the same. You can answer them later.
Why can't I upload photos to my new account yet?
You need to confirm your email address first. New accounts verify the email before any photos go up, so check your inbox for the confirmation link. It's a one-off, and once it's done uploads are open.
I have a shoot this weekend. What should I set up first?
Brand your studio (logo and accent colour) and create the booking for the shoot, so the gallery is ready to fill the moment you're back at your desk. Everything else can wait. Deliver your first gallery takes it from there.
Keep going